A FEW RESTORATION EXAMPLES
Any interested visitor will allow me to present here below a few examples of my personal guns, to which I think I have given back an acceptable look.
Yet one remark: I don't like very much calling "restorations" the few repairs I make. Being neither a professional gunsmith nor a restorer, I consult as much documentation as possible and I endeavour to give back those old pieces the look they had in their days of glory.
Neither am I seeking for wreckages to restore; only sometimes I happen to buy a damaged gun, when I got the feeling I could bring it back to life again.
When someone asks me to restore or repair an old gun, I have great pleasure doing it and giving the owner back his smile. However, if the damage appears to be beyond my modest skills, I won't touch the gun. Instead, I will bring the owner into contact with a friend of mine, who is a professional gunsmith, so that he can deal directly with him.
As a collector, I also respect the following principles:
- A military weapon, or a weapon designed for military purposes, intensively used but still in good order, will not loose very much of its value in case it has lost a part of all of its original finish, as long as it is not rusted nor pitted. Reblueing such a gun would be a big mistake.
- A civilian gun like a pocket revolver, will loose VERY MUCH of its value as soon as its original finish has been damaged, and even more if it has been repolished with some machine in order to remove dirt. The vast majority of those guns are unfired or have been very few used. The rust or damages are generally due to unskilled manipulation or to a century spent in a box in some humid attic.
Of course, one is free to share or not that opinion.
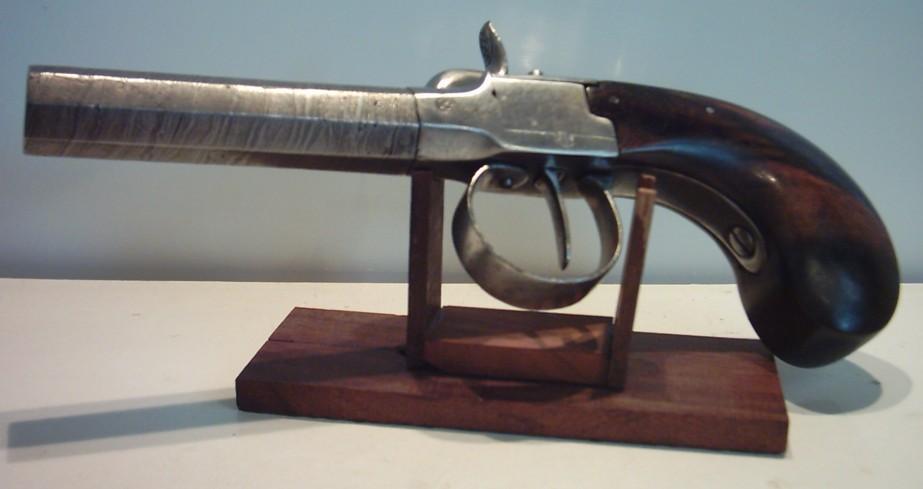
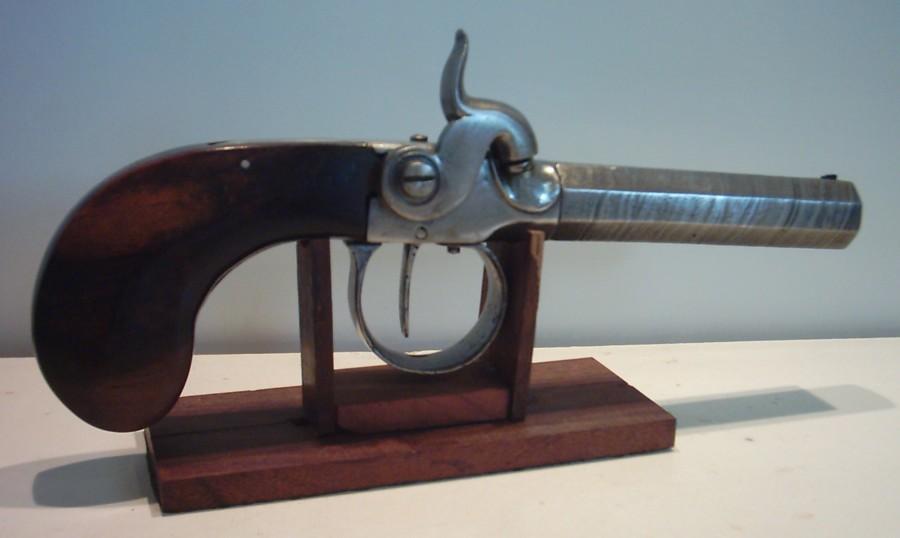
1. Liège-made box lock pistol, side hammer, damas barrel, smooth bore
I love that pistol. I bought it a few years ago almost against my own will; it looked damaged beyond all repair. The only feature that seemed interesting to me was its side hammer: this is unusual on a box lock pistol, on which the hammer should normally be placed centrally into the box.
The barrel was rusted and blistered, the frame was full of rust and dirt, the nipple was broken and it lacked all its springs. The "grip" was roughly cut out of a piece of oak, more or less in a right angle, and even more roughly dug out in an attempt to make a home for the - lacking - main spring. In the back strap to the box lid, a hole had been drilled out, in which a large modern, inox screw had been screwed.
I really regret being unable to show pictures of the pistol as it was then.
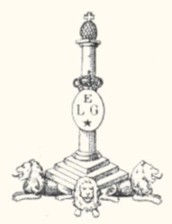
The ELG proof stamp was still well visible on the left side of the box, as well as a D in a shield on the left side of the barrel. No other markings at all.
That D lead me to think about "damas"; and closer examination revealed a very fine spiral shaped line, which was no remain of any design but the actual traces of the spiral-forging around a mandrel.
The barrel could also be unscrewed, which made it all far easier.
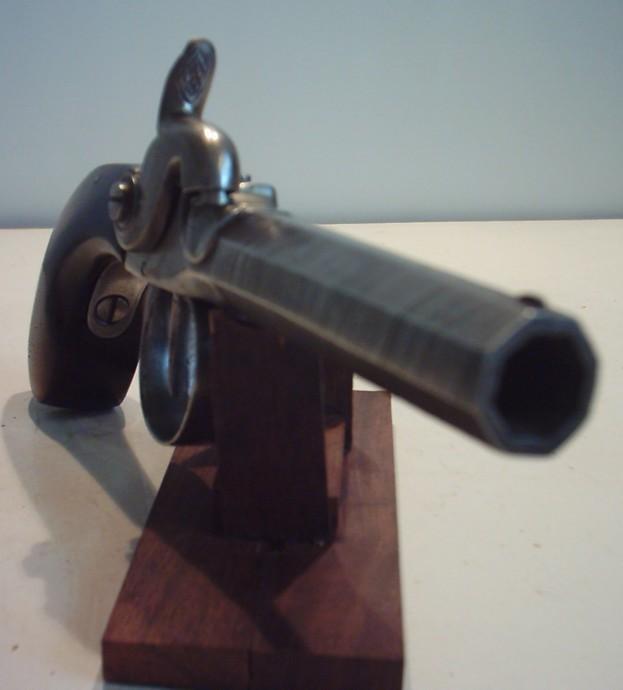
So I first gave the barrel a mirror polish, using a fine Swiss file and tons of sandpaper. Then I obturated both ends with wooden blocks, and I put it without hesitation in a beer glass filled with chloridric acid. The barrel immediately started to "boil", and after a few minutes, very nice grey and black spiral lines appeared.....bingo.
As the - however deep - polishing had still left traces of pitting, I left the barrel for one hour in the acid, which gave it a nice relief that was called "mined damas" in the 19th century. Besides, the pitting was gone. After having boiled it for 30 minutes in hot water with soap in order to stop the action of the acid, I just had to drill out the remains of the front sight and to make a new one, which I silver-brazed into the barrel.
This model of pistol features separated main and trigger return spring; so I had to make two. In the lower arm of the main spring is a square hole, which fits onto a hook on the lower back strap. The return spring to the trigger is placed vertically ahead of it, and has a central pin that fits into a hole in the front wall of the box behind the chamber.
I could also repair very well the half-cocked notch by reshaping it into the hammer nut with a Swiss file.
Among my spare parts I found a correct nipple, which accepted to screw firmly into the original hole. Unnecessary to mention, of course, that I first had to drill out the remains of the formal one.
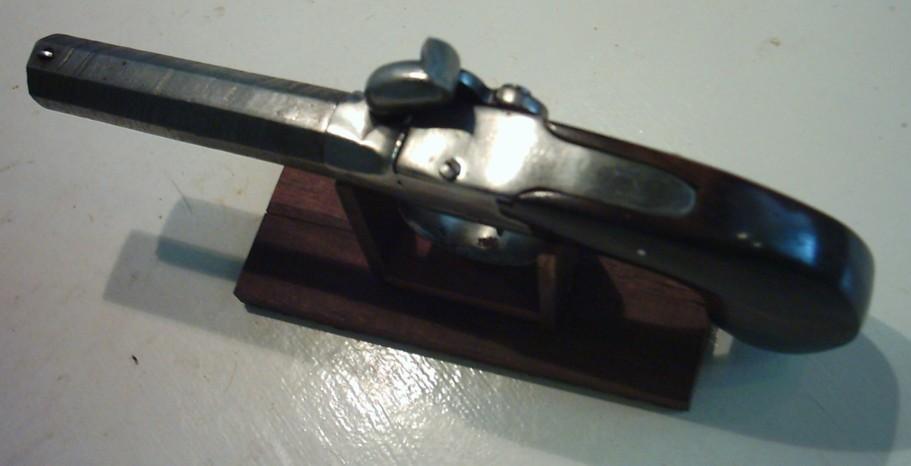
The grip was the most difficult part. It is made in a first quality walnut block.
To make a pistol grip by hand is a long and difficult work, but wood of that quality makes it somehow easier. It is hard, but its high density allows for the chisel to bite easily in any direction. One has to be very patient to dig out the spring home, to make an acceptable mounting on the metal parts, and to cut out the room for the back straps without having the proper tooling - or the skill to use it. Mistakes are not allowed, for the wood would be lost.
I mentioned that the iconoclast who "worked" on the pistol before me had drilled a hole into the back strap to the box lid for his modern screw. However, the wood area the back strap is resting on is too thin to allow a screw to fit correctly.
So I obturated the hole using a piece of a carpenter's nail, a portion of which was just narrowed enough to pass through the hole and stick out one millimetre, the "shoulder" below resting against the back strap.
Then I heated the pieces together well red and forged them together with a hammer. After polishing, the obturation became invisible.
I flattened the lower end and drilled a pinhole in it. Now I had also to rill a hole into the wood, through both sides, to allow for a steel pin to fit firmly and hold the grip in place.
I would need a book to describe in detail how I located the exact place on the outside of the wood, to drill a hole in exact alignment with the one on the piece I had attached to the back strap. Let's simply say that it is far from easy.
A grip must be cut roughly first, then adjusted on the metal parts, and finished by hand while it is in place on the gun, in order to make it fit perfectly. The pin is filed and polished together with the wood, so that when the job is done, it is only visible with the eye but undetectable with the fingers.
Once the grip made, of course, the metal parts have to be repolished again to remove inevitable traces left by the file while shaping the grip. Finally, a very long and fine polishing of the grip is done, with 5 or 6 different grains of sandpapers like told before.
Between the sandpapers, I wet the wood twice in order to force the wood fibres up, which allows for a smoother polish.
I ended by rubbing the grip for at least an hour with an oiled cloth (natural line oil) in order to make the oil penetrate the wood without leaving greasy traces, and then another hour...with bare hands.
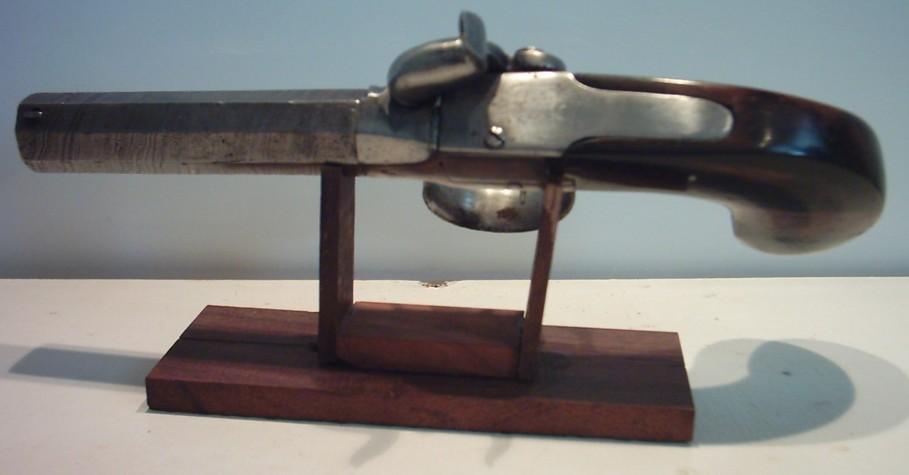
One could debate for hours about the actual value of such a gun in a collection. Although it has recovered an acceptable look, it has also lost a great part of its originality. The alternative was, however, wreckage without any value.
Anyway, to me it meant an excellent practice, and I'm glad about the result. I doubt I will ever sell that pistol.
Marcel
|
|
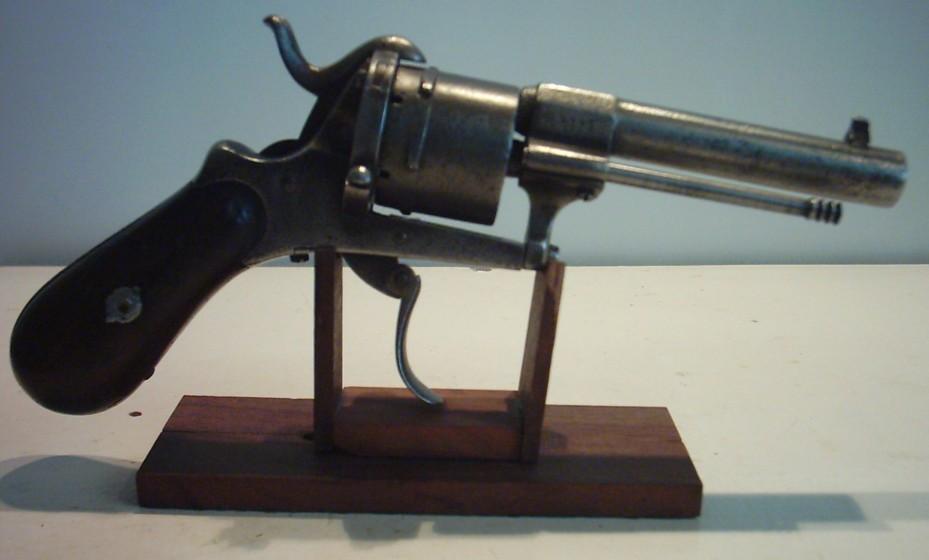
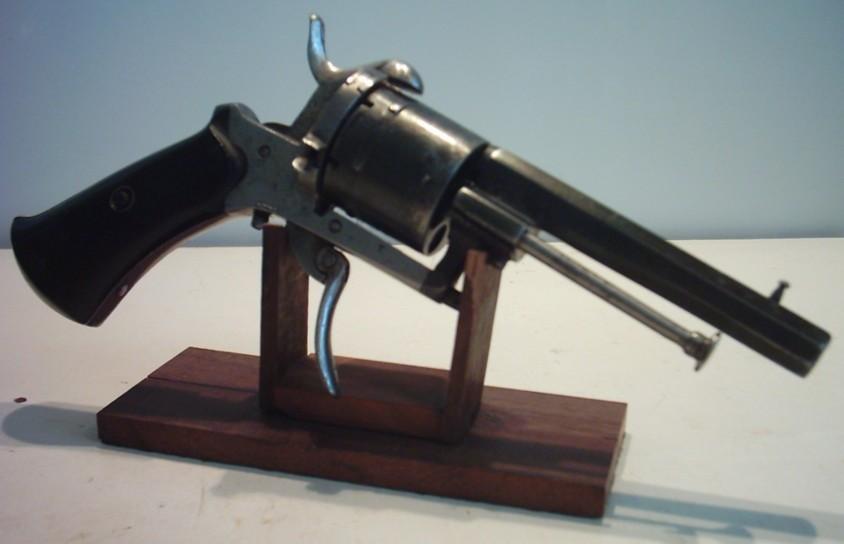
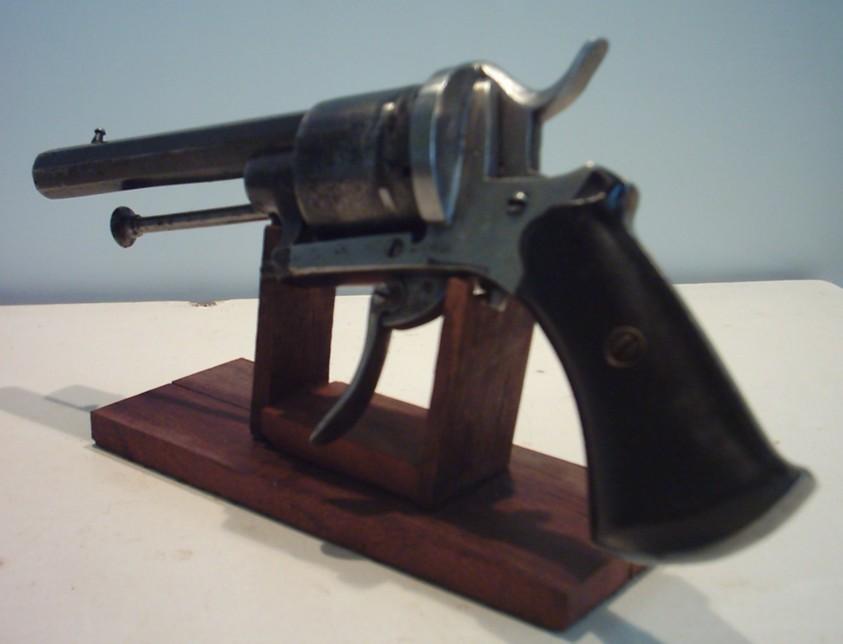
2. Liège-made pin fire 7 mm revolver
A common Lefaucheux-type revolver, plain, showing pre 1893 proof stamps and post 1877 controller stamps.
The grip plates are of ebony or fake ebony.
When I bought the gun, the barrel showed ugly filing traces and a quite deep pitting at the muzzle. The rest was in fair condition, so I did not touch it. Remains of blue colour were still visible on the barrel and cylinder, the frame and other parts being white polished. That combination of colours was quite often seen on guns of this era.
In order to give it back an acceptable look, I first polished the barrel to get rid of the tool traces and the most pitting.
Then I blued barrel and cylinder in my little home-made oven like previously explained.
However, once reblued, the barrel and cylinder looked too "new" compared to the rest of the gun. So I patinated them, using a patch of very fine oiled steel wool to dissipate the blue on the edges and on some other areas in order to give them a more "used" look, which is more in accordance with the rest of the gun.
Another case to debate about...
Marcel
|
|
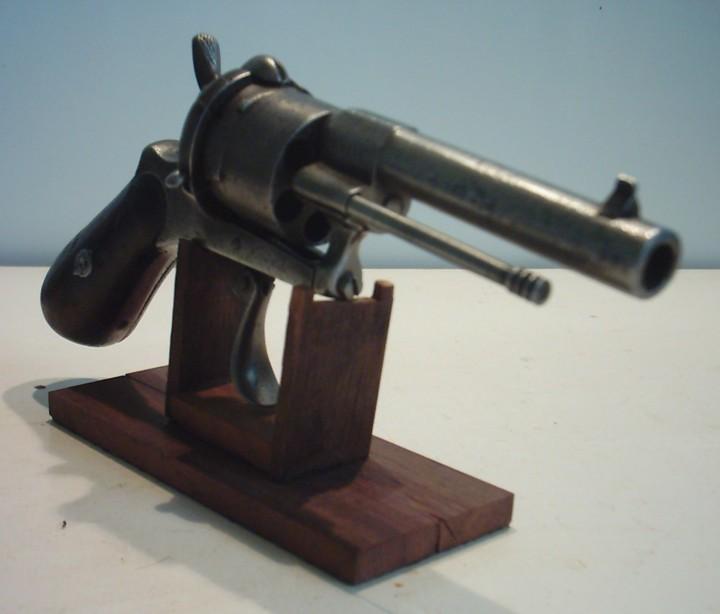
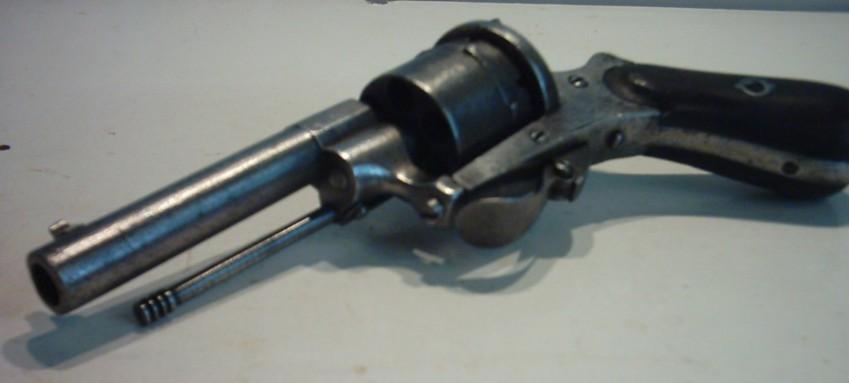
3. Liège-made (???) pin fire 7 mm revolver
Although it bears Belgian proof marks, I suspect this one to have been made by Eugène Lefaucheux in his Parisian shop. Lefaucheux used to have lots of his guns proofed at Liège, because the very heavy Liège proofs were a guarantee of quality. The guns were sent "in the white" to one of his correspondents (Janssen, Francotte...) and finished there after having been proofed. I've got another revolver of the 1st type, with a 2-piece frame, signed by E. Lefaucheux, dated 1867 and proofed...at Liège.
This one was entirely covered with a thin lay of rust, but could be easily taken apart. I removed the springs and grip plates, reassembled the gun, and de-rusted it by electrolysis. Then I washed it in hot water with detergent, dried it, reassembled it completely and oiled it.
As can be seen, nothing more was needed. The gun has now a nice patina and works perfectly.
Marcel