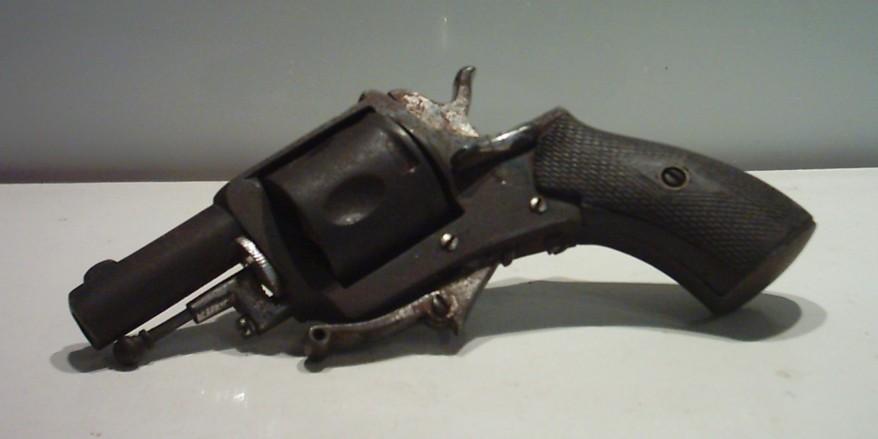
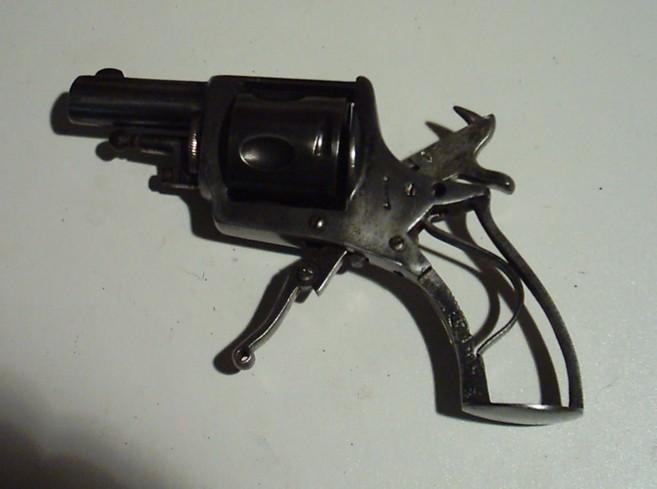
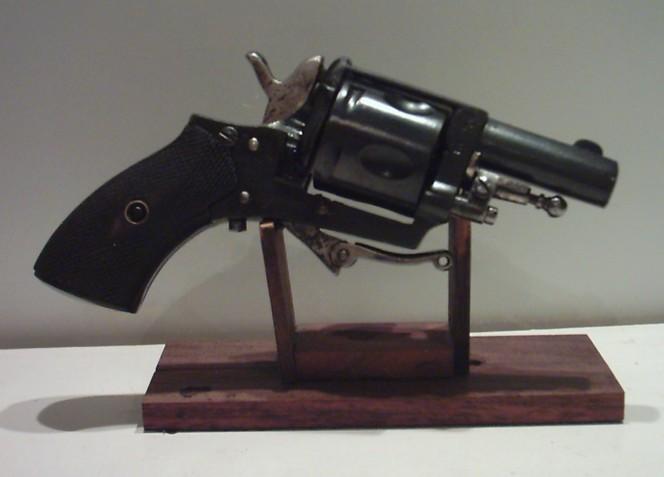
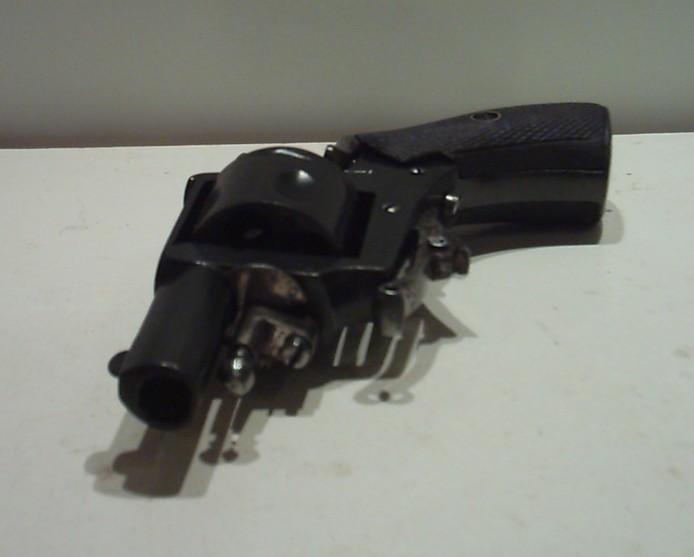
2. REVOLVER "Constabulary"
Okay, it looks like we'll spend some more time among the folding-triggered small size Bulldogs.
This time what we have here is a small "Constabulary" (the names Bulldog, Lincoln, Constabulary etc, seem to be determined by the shape of the grip on those guns, the other parts being quite identical).
Once again, I was asked to give back the gun the look it has when it was new...
IDENTIFICATION
- Constabulary-type pockets revolver, 5 rounds, .320 short calibre, and centerfire.
- Folding trigger
- Grip plates of ordinary walnut, chequered
- Odd hammer-blocking safety lever on left side of the frame
- No identifiable maker's mark
- Liège post-1893 proof mark, controller's marks S and C with star on the rear of the cylinder
- Controller stamp S with star and crowned R (rifling control) on the right side of the chamber
- Initial A or figure 4 (illegible) on front side of the cylinder
- Rifled barrel, 4 clockwise
- No proof stamp for smokeless powder
- Estimated date of production: between 1893 and 1898 (Nose Radar)
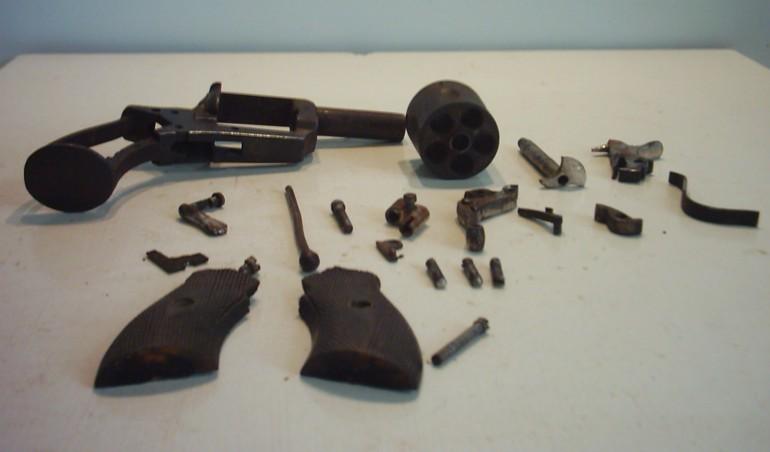
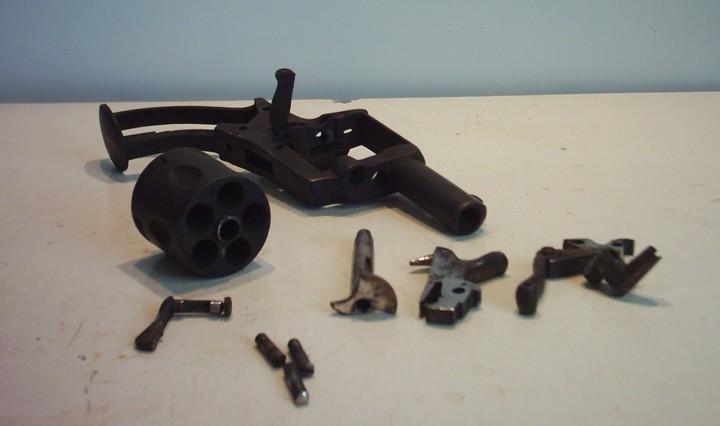
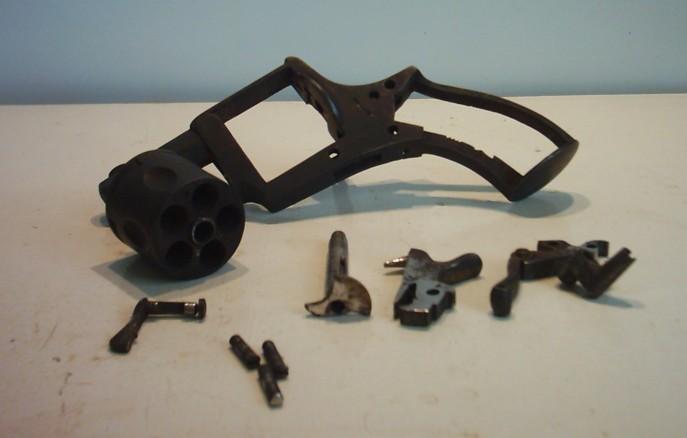
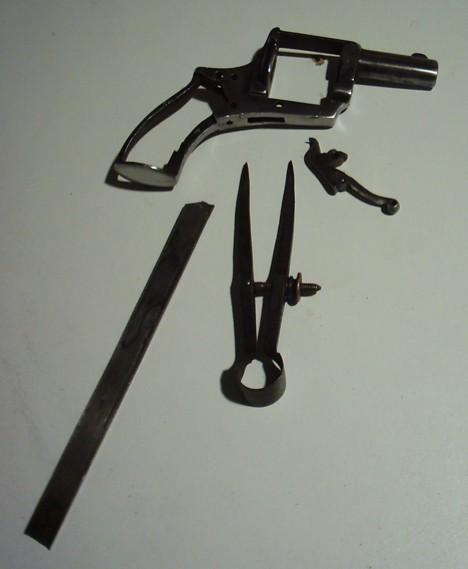
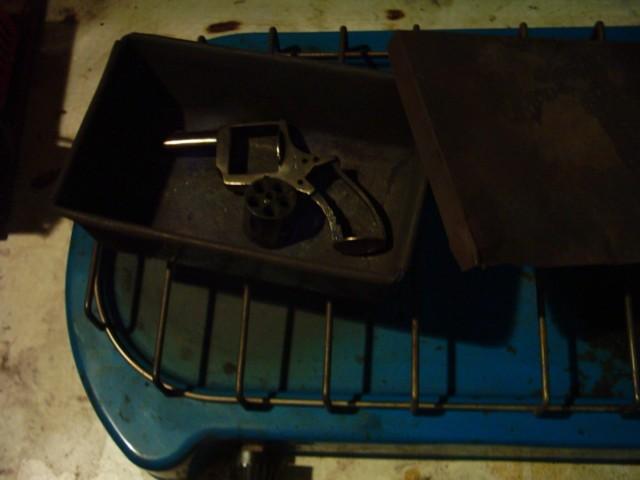
CLOSE EXAMINATION AND DIAGNOSTICS
- Trigger return spring missing
- Extractor rod too long - comes from another gun
- Thin layer of rust all over
- Hammer, trigger, screws, safety lever and ejector lug nickel plated, nickel in bad condition
- Original blue still visible under rust
The gun does not appear to have been worked on before, and the rust is quite surely due to a long storage in a humid location. The lock mechanism is working, yet the hammer has a tendency to stick at full cock when thumb-cocked for single-action firing. Apart from the missing trigger return spring and the too long ejector rod, all parts of the gun appear to be original.
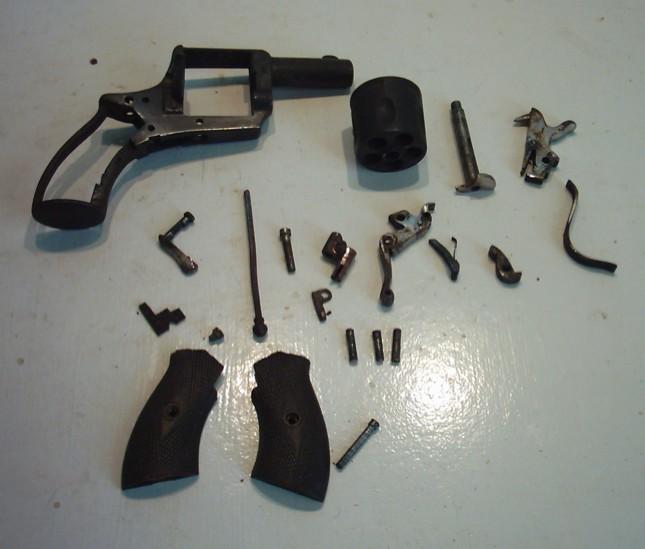
It allows for easy disassembling, and I'll be the last one to complain about that.

No hesitation at all in the present case: that little guy will be de-rusted by electrolysis. Since it is easy to disassemble, I encounter no problem in removing the main spring.
Besides, a small test with steel wool on the frame reveals a sound metal without pitting. Yippee.
Remark
I can hear some of you wondering how I will solve the problem caused by the loading gate spring, since the electrolysis makes springs weak and, as I previously said, that particular spring is almost always impossible to remove. Well, the answer is simple: I will try only once to remove the spring, without removing the loading gate. If I fail, I'll leave it in place with the hope it won't break. I speculate on the fact that spring never has to support high pressures.
And if it breaks, well...my story will be a bit longer. In that case, however, I'll make sure to shortcut my rich assortment of king size curses.
REPAIRS TO BE DONE
- Electrolytic de-rusting
- Cleaning and mirror polishing
- Reblueing of frame and cylinder
- Removing of the nickel then temper and polishing of the other parts
- New trigger return spring
- Tuning of the lock mechanism
- Cleaning and refreshing of the grip plates
- Reassembling
ELECTROLYSIS
Once the gun totally disassembled, I clean the parts with trichlo or any other grease remover.
Then I reassemble it, leaving all screw partially loose in order to allow for the electrolyte to penetrate the whole piece; and of course, omitting the springs.
The trigger is put in place without the pawl. The latter is a small piece, easy to clean, and any attempt to remove its tiny spring could damage it. On the hammer however, I have taken off the flat and removed its tiny flat spring.
I prepare the electrolyte like previously explained: 5 litres of distillate water (boiled water will also do), in which I mingle 250 gram of sodium hydroxide (active soda). The common products used for cleaning and clearing of sanitary pipes usually contain 20 % of sodium hydroxide (NaHO² if I remember correctly), and will do the job perfectly. Mind the eyes and the hands.
Notes
I don't know at all wethers the sodium hydroxide will also remove the nickel (or chrome) plating on the hammer and trigger. We will find out together.
Electrolytic treatment should normally enable removal of any plating, provided one uses an acid that can bite the plated metal without damaging the sound steel. Plating should in theory be possible as well, by reversing the current. I never tried that up to now.
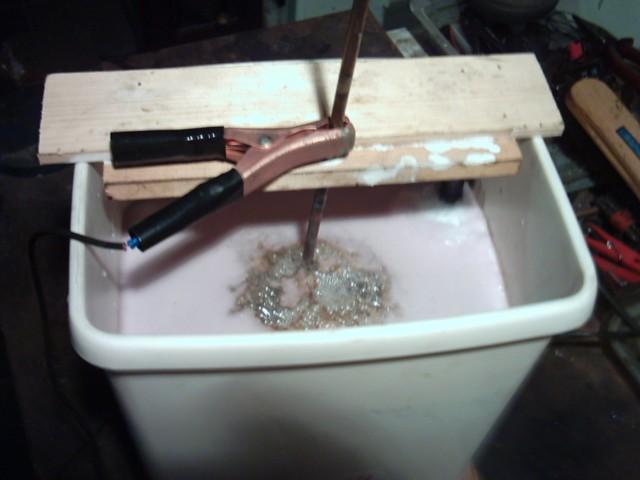
The reassembled gun is hung on the copper hook and put into the electrolyte; caring for a total immersion and avoiding any contact with the anode (See pictures).
Then I switch on the current and ventilate the place in order to dissipate the escaping gasses. I remind the smokers once again to avoid bending over the working electrolyte with a cigarette in the mouth. It could say BANG.
As I don't know precisely how much time a complete de-rusting will take, I decide to take the piece out every two hours to check the evolution.
GRIP PLATES
The grip plates are intact but dirty. To clean them, I wash them in warm water with dish washing detergent, and using an old toothbrush to clean the chequering.
That treatment is usually sufficient, yet in some cases a little bit chlore should be added to the water in order to whiten the wood. After cleaning, I wipe them out and let them dry.
Attention: wooden parts should never be put to dry on a direct source of heat (radiator) in order to avoid deformities. The washing in water does not take enough time to allow for the wood to absorb much water, so the parts will dry relatively fast. Besides, haven't I said somewhere before that restoration is a matter of patience?
Remark
Some fine weapons, especially military ones, sometimes show ugly black or dark brown stains on their wooden parts, especially in the areas around the metallic parts.
Those stains are due to an excessive lubrication with improper oil.
Although one can understand that soldiers on the battlefield are not always in the ideal conditions to provide their guns a proper maintenance, on the other hand it is regrettable to state such damage on civilian or hunting weapons.
In case of excessive lubrication without previous careful cleaning, the oil will absorb the dirty grease that is on the parts and come into contact with the wood at the inside of the gun. It will penetrate the wood all the way through, and, if the latter has been varnished, like on hunting guns, it will have no possibility to escape; so it will progress laterally instead, then dry and leave those ugly stains.
The process is irreversible. Since the oil has penetrated the whole thickness of the wood and dried, the stains are impossible to remove. The only remedy is to remove the varnish, then wash it and get it as white as possible with chlore, prior to darken it again, darker than it originally was, using a good quality wood colouring product.
That treatment will greatly attenuate the stains, but unfortunately also affect the natural wood design.
Don't try anything else, nothing else can be done.
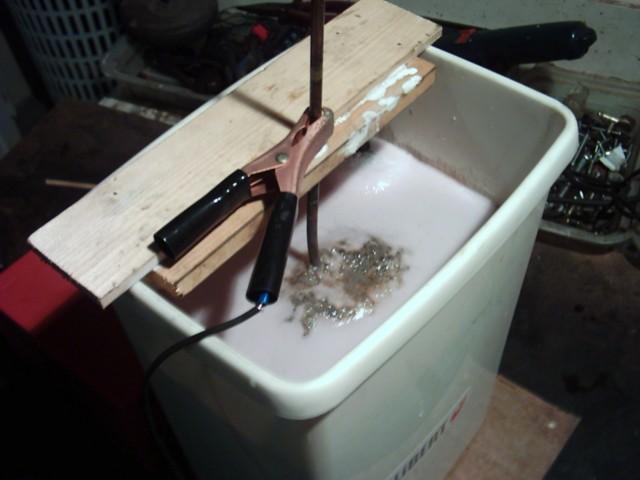
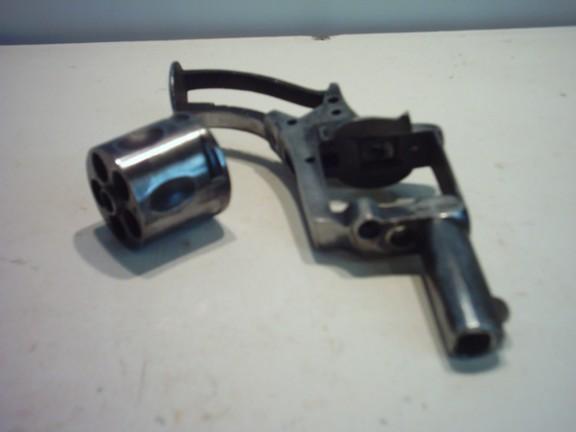
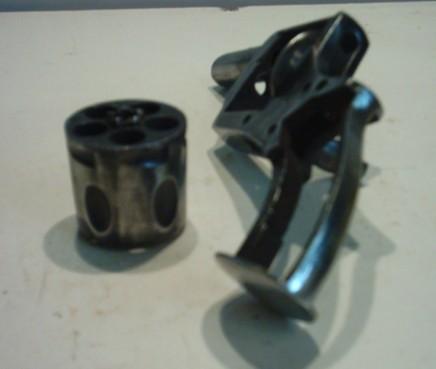
Two hours later I take the gun out of the bath to check it. I got lucky, the rust has already vanished (pictures 9 to 13). Sometimes the electrolytic process can take several days.
The gun is not even covered with slib, but with a fine layer of rust residues, that give it matt mouse grey coloration. As previously said, that layer can easily be washed away with a toothbrush and clear water, or in warm water with soap.
Once washed, I place the gun for about 30 minutes in the kitchen oven, at a temperature of 60°C, in order to allow for all the remaining water to evaporate totally.
I am also glad to see that the spring to the loading gate is still sound. It has just become a little bit weaker, but that is something I can easily correct by bending it a little bit with a screwdriver, from the internal side.
I can also state, however, that the electrolytic treatment has had only a very limited effect on the nickel plated parts.
Only the particles which the rust had already partly loosen, have disappeared. The rest remains unchanged.
The treatment has also removed the original blue. Instead is a nice yellow-brown patina that I might have decided to leave unchanged in case the gun had been mine.
The gun shows no pitting nor holes, but the original, but its original polish is not very nice.

At this point I have several options: white-polish, blue, nickel plating, silver plating....in their days those guns were available in so many different finishes, that it would be quite hard to imagined one that would be anarchic.
Yet in this case, the owner wants blue, so I'll have to polish the whole gun and reblue it.
But some repairs have to be done before.
THE MAKE OF A NEW TRIGGER RETURN SPRING
On all the revolvers of this type, the trigger return spring is a V-shaped one, and lies horizontally in a rectangular compartment cut in the frame, under the cylinder. The point of the V lies ahead, while the inferior arm lies on the bottom of the compartment. The upper arm is the sole active one; its extremity comes under the fore end of the trigger block, holding it up.
In order to assure a smooth working, both the bottom of the trigger block and the top of the spring's upper arm are filed in an oblique shape. When the trigger is squeezed, the fore part of the block bends down and presses on the spring.
Those springs break easily and are the weak point of these arms.
I need a piece of intemperate spring steel, i.e. a flat stick of 1.5 cm bright and 2 mm thick. These sticks are available in various thickness and shapes, and if I remember correctly they are 6 m long. Intemperate spring steel is easy to work on.
Note
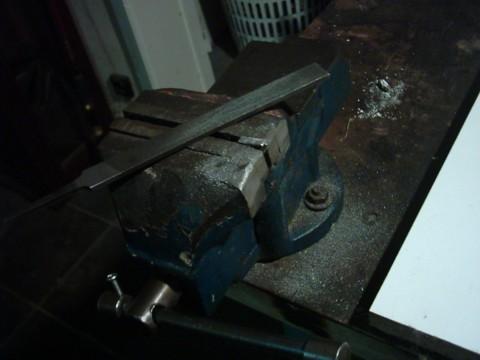
I explained before that I also work with used steel, more precisely a portion of a coil spring recuperated on an old church clock. That coil is 100 x 5 cm and is 3,5 mm thick. As it is already very hard tempered, there is no way to saw or perforate it without softening it before, which I do as follows:
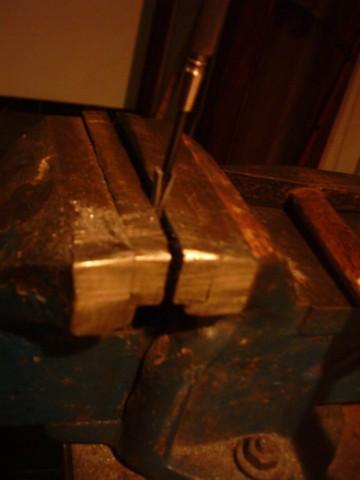
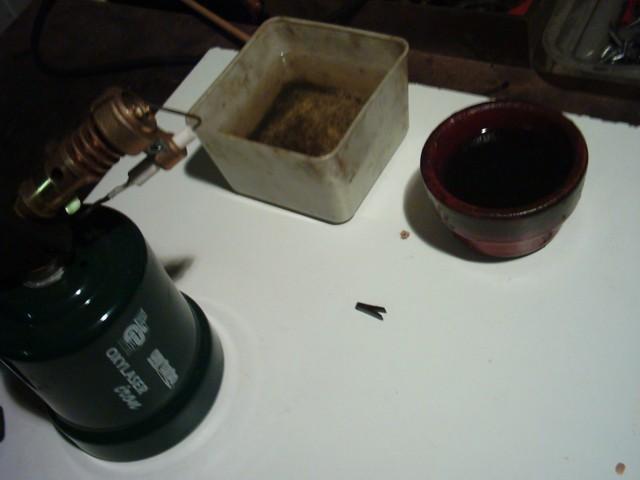
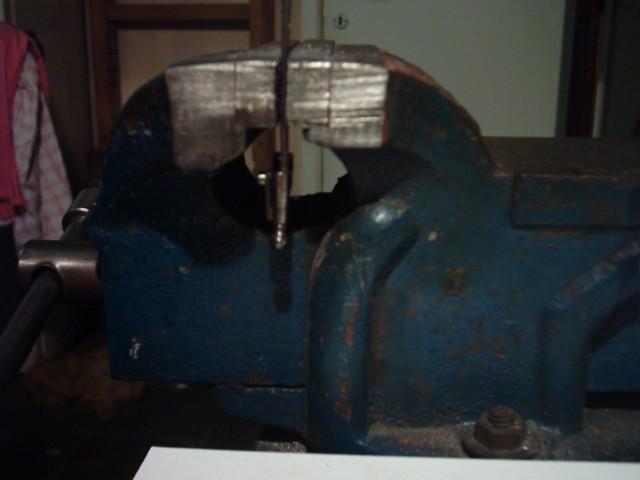
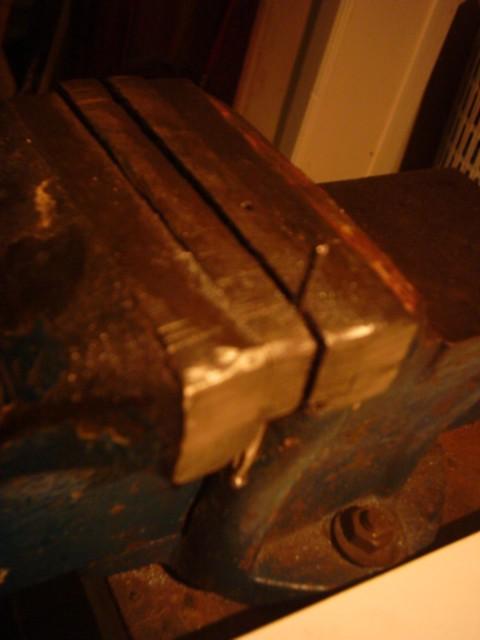
First I put on my furnace a can containing common sand, which I heat for at least 30 minutes. Then I break a portion of metal in my vice, and I heat it to the cherry red.
I keep heating until the metal start producing sparks, but I avoid heating it to the white, for this could affect its molecular structure.
Then I put the hot metal into the sand, I kill the fire and I let it all cool down.
For a good softening it is highly important to cool the hot metal as slowly as possible; that is why I use a bath of sand.
Once cooled, the metal can be worked on without any problem.
First I measure the distance between the front wall of the spring compartment and the middle of the fore end of the trigger block. I report that distance in double on my steel stick, as well as the brightness of the compartment. Then I cut the piece out with a saw.
I squeeze the piece of metal in my vice, and I bend it to a right angle by tapping lightly with a small hammer. Then I heat it, not too hot, so I can fold it totally without ripping it.
Then I squeeze the folded piece in the vice, and I open carefully the two arms by introducing a screwdriver between them, in order to bring them into a V shape.
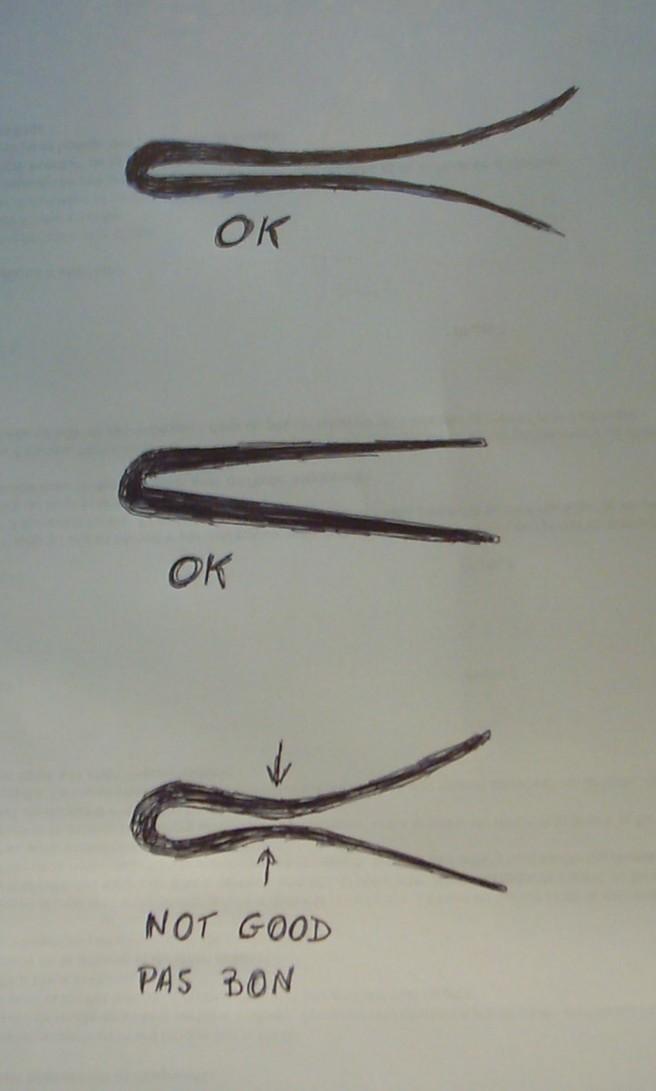
The two arms of the V should be lightly concaved outwards; but not too much. Once terminated, the spring must fold completely, but the middle portions may not touch each other before the ends; otherwise there will be an overpressure in the folding and the spring will break. (Who says it is complicated?)
In order to equalize the pressure in the entire surface of the spring, the thickness of the arms should be decreasing from the angle towards the ends. That is done with a file, the spring squeezed in a vice (see pics). It is very important to file straight and regularly.
MOUNTING AND TESTING THE SPRING
The finished spring should be mounted in place, in order to check for the necessary adjustments before temper.
To ensure a smooth and durable working, the following points should imperatively be respected:
- The angle (folding) must rest against the front wall of its compartment.
- The lower arm must rest on the tapered bottom of the compartment, and must be long enough to reach exactly the edge of the trigger opening in the frame, without however passing over.
- In the resting position, the upper arm of the spring must lay horizontally in the compartment, considering that, in that position, the forepart of the trigger block squeezes the spring a little bit. The end of the arm is just touching the end of the forepart (see drawings). If the arm is too long, squeezing the trigger will cause the angle of the spring to move upwards out of its compartment, or the spring will break.
- In assembling the gun, the spring opening must allow for an easy mounting of the trigger block. A difficult mounting means a spring that is too far open, which will result in a bad working.
Those points and the possible adjustments can easily be done as long as the spring has not been tempered yet.
THE HARD TEMPER
The new bee’s nightmare. It bends, it breaks, and it does everything, except what it should do. Let's keep cool, there's a trick. Here is how I do:
First I put in my immediate reach a jar containing cold water, and another one containing motor oil. Holding my spring with pincers, I heat it to the cherry red with a torch. I make sure to heat the whole spring regularly. Once it has reached that colour, I throw it into the cold water. Sssshhhhh, it cools immediately.
Now my spring is very hard tempered, which also makes it very breakable. If I drop it on the floor it will break like glass. It has also become black.
I polish it a little, very carefully, with a piece of sandpaper in order to get the metal white again, because I will need to see how the colours evolve in the next phase, which is the "return" in oil
THE "RETURN" IN OIL
Hard and breakable as it is, my spring is useless. I have to give its back its elasticity, without however soften it.
Here the novice will need some training, because he will need to recognize all the colours the metal takes by heating. He will break 7 to 8 springs before he'll have a good one. Yes Sir.
I put my spring on a piece of coil on my furnace, and then I watch it. The metal will first turn yellow, then bright transparent blue; then it will become white again, and finally it will slowly acquire a matt dark blue colour, before turning to the "onion peel" brown.
Right at the moment the entire spring has turned matt dark blue, and only then, I take it away from the fire and put it into the oil and let it cool down.
Once cooled, I wipe it out and test it with my pincers: perfect. It is strong and elastic. I just have to put it in place on the gun.
Long and difficult to do? Not at all. Between the moment I took the first measurements and the mounting of the finished spring, there are about 30 to 40 minutes.
Peace of cake.
VARIATIONS
Some put their intemperate spring into a certain quantity of oil, and put the oil on fire. Once the oil burned out, the spring is finished. Others place it in an oven at a temperature of 180°C during an hour. I never tried these methods that to me appear even more empiric as mine that has been in use for several centuries now!
ASSEMBLING "IN THE WHITE" AND CHECKING THE WORKING
Once the spring finished, I assemble the gun "in the white", as I always do, in order to verify its working and do the last adjustments before the last finish.
In a previous chapter I explained that the thickness of the return spring can affect the working of the lock mechanism. If the spring is made too thick, it will prevent the trigger nose to reach the fullcock notch in the single-action mode.
Checking this point prior to temper the spring is impossible, or at least very difficult.
So I assemble the whole mechanism, omitting the cylinder, and I test the single-action mode. The spring appears very well made, for the lock mechanism works well and the trigger nose engages firmly the notch when the hammer is thumb-cocked. The trigger is even a little bit hard, but I won't change anything to that.
The alternative would have forced me to reduce the thickness of my spring with a file, which cannot be called easy on hard tempered steel.
Now I assemble the cylinder in place and I activate the trigger, the gun pointed in my direction, to check the alignment of the chambers with the barrel. I repeat the operation thumb cocking the hammer.
Everything works perfectly. The last thing I have to do now before finishing the gun is to adjust the length of the ejector rod, which comes from another gun and is too long.
SHORTENING THE EJECTOR ROD
On these guns the ejector rod shoves into the hollow cylinder axis, and is maintained by a mobile lug. When in place, its rear extremity touches that of the cylinder axis.
The lug is fitted with a flat spring having a pin on one end. The pin penetrates the lug channel through a small hole. Some guns have a simple screw on their lug, instead of a spring.
The rod has a flattened portion on almost its entire length, which allows it to shove into the lug and the axis while hold by the pin. The thicker end is blocked by the pin, which prevents lost of the rod.
As it is too long, I have to shorten the rod by cutting the rear end. Now it has the exact length, but it ca also shove entirely out of the lug, as there is no thick end to engage the pin anymore.
To solve the problem, I squeeze the rear end in my vice, and, while heating a bit with my torch, I shape it in a small ball by tapping it gently with a hammer. Once done, I just have to give it the correct shape with a file.
Those rods are of iron and bend easily.
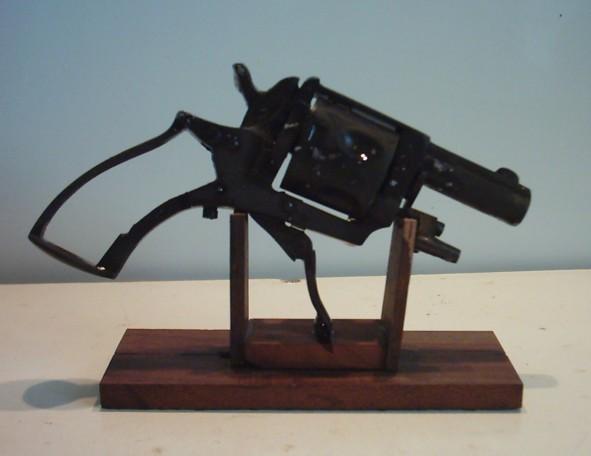
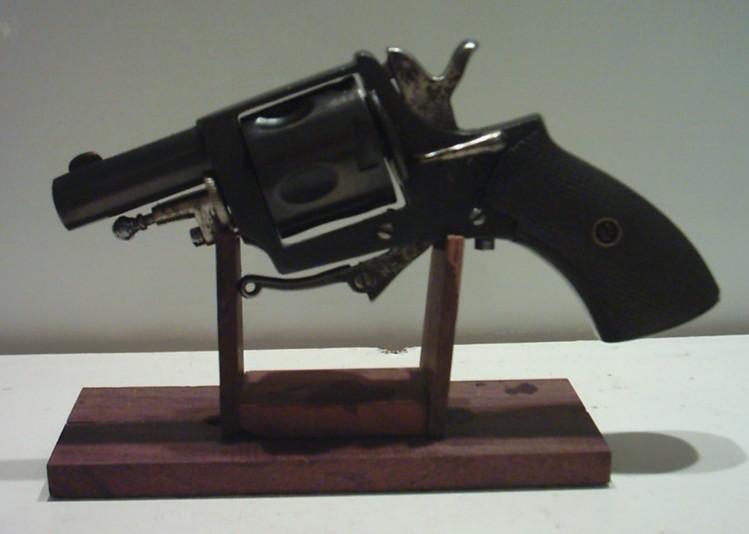
FINISH
Well, now the last thing I have to do is to disassemble the gun again and to blue the frame and cylinder the way I explained before, and then reassemble the whole thing.
Meanwhile I have refreshed the grip plates with a good wood colouring product (dark walnut). Once dry I rubbed them with a cloth drenched in linseed oil. No varnish this time.
I think I have once again succeeded in giving back and old broken and rusted thing some of its original beauty.
MARCEL